12523
Zoetis - Synovex C is recommended for use in suckling beef calves, up to 400 lbs. for increased weight gain and improved feed efficiency.
Approx 70 day implant.
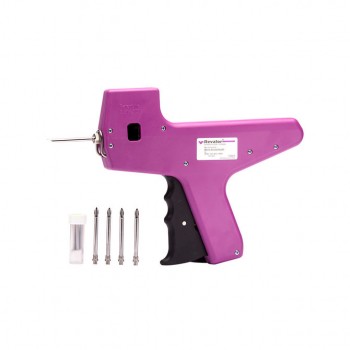
Implant gun must be purchased separately!

Synovex C is recommended for use in suckling beef calves, up to 400 lbs. for increased weight gain and improved feed efficiency. Each dose consists of 4 pellets containing 100 mg progesterone propionate and 10 mg estradiol benzoate. Approx. 70 day implant.
Synovex C Calf Implants contain two pure steroid hormones, progesterone and estradiol benzoate. This formulation provides a complementary amount of each hormone for maximal growth stimulation. An initial Synovex C implant is followed at approximately 70 days by Synovex S. Studies show that Synovex C is effective through the suckling period of the calf. May also be in calves over 400 lbs in confinement as part of a re-implantation program.
Species: Beef steers, heifers, dairy steers and calves
FEATURES / BENEFITS
Formulated with two complimentary hormones to maximize growth stimulation.
Specifically designed for use in suckling calves and can be used in both steers and heifers (including replacements).
Has zero slaughter-withhold.
SPECIFICATIONS
Do not refrigerate.
Do not use on bull calves intended for reproduction or in calves less than 45 days old.
INSTRUCTIONS
Step 1: Loading the SX-10 gun
Load the SX10 gun following the directions outlined in the instruction manual accompanying each SX10 gun.
Step 2: Restraint
The animal must be confined in a restraint mechanism (squeeze chute or head gate). The implant site on the back of the ear should be prepared by scrubbing with a generous-sized piece of cotton that has been soaked in a germicidal solution.
Note: If implanting horned cattle, greater safety is provided when the head is controlled by the use of a bull lead (nose tongs).
Step 3: Implant Site
Divide the ear into three imaginary sections as illustrated. The implanted pellets should be deposited in the center one-third of the ear as shown. To accomplish this, the SX10 gun needle should be inserted in the outer one-third of the ear as indicated by the illustration. Implanting too close to the head may cause abnormal sexual behavior. Care should be taken to avoid severing the major arteries of the ear.
Step 4: Insert Needle
Just before grasping the ear with one hand, release the safety by striking the butt of the gun. Holding the SX10 gun firmly with the other hand, penetrate the skin at the point shown by the illustration. Thrust the needle under the skin taking care not to penetrate the cartilage. Ease the SX10 gun forward (toward the base of the ear) until the full needle length is beneath the skin.
Step 5: Pellet Implantation
When the needle is completely inserted, activate the instrument by squeezing the trigger completely. Do not withdraw the needle, but allow the automatic needle retractor to release the pellets. This will allow the pellets to be deposited in a straight line in the path of the retracted needle.
Step 6: Inspection
Check the implant site. If properly administered, the implants should lie in a straight line under the skin .Disinfect the SX10 gun needle in a germicidal solution and re-cock the instrument by rotating the cocking grip left, pull back, rotate right, then push all the way forward. You are now ready to implant the next animal.

Zoetis - Synovex C is recommended for use in suckling beef calves, up to 400 lbs. for increased weight gain and improved feed efficiency.
Approx 70 day implant.
Implant gun must be purchased separately!